
Contents
|
|
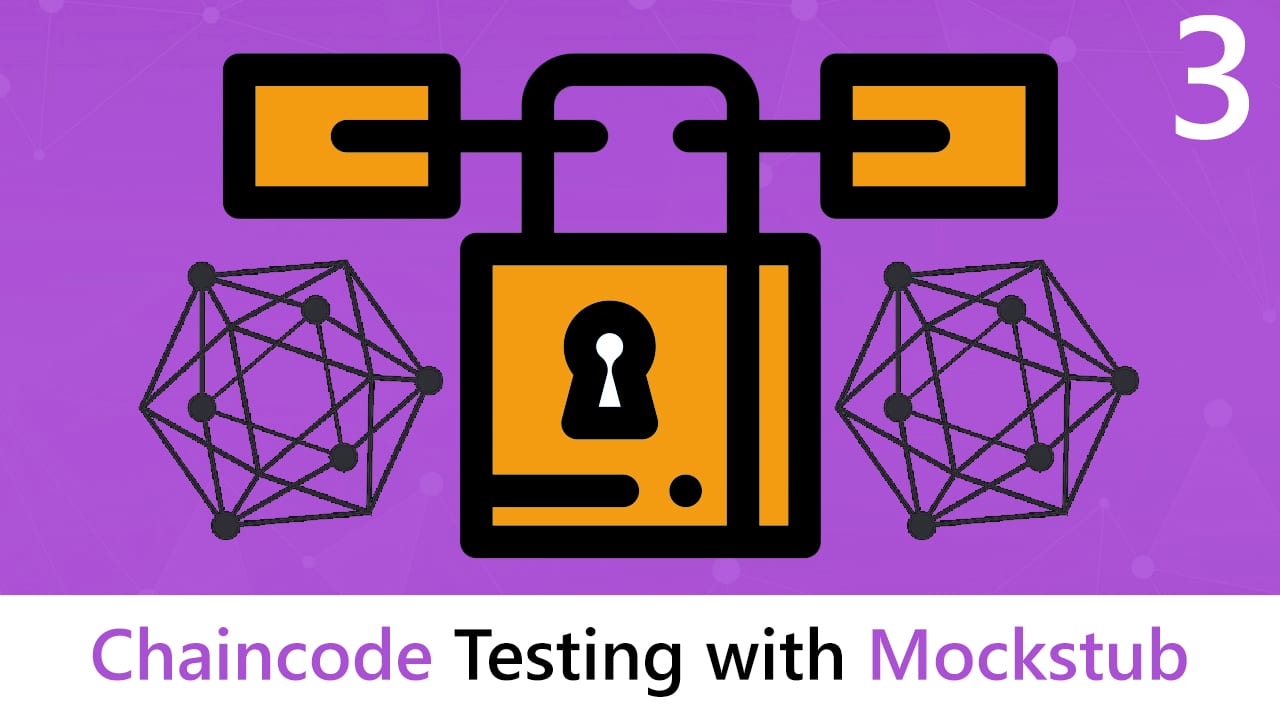
The following tutorial series consists of three articles which will teach you various aspects about Hyperledger Fabric chaincode development ranging from CRUD operations, data protection, and chaincode testing.
An overview of the series:
- Article 1: Basic chaincode development and storing private data in collections
- Article 2: Advanced chaincode queries and the CouchDB GUI
- Article 3: A tutorial towards testing your chaincode with MockStub
Contents
Requirements
- 4GB of RAM (more is preferred)
- Docker, Docker-Compose, Code editor (e.g. Visual Studio Code), Git
- NodeJS version 8.9+ (Preferred is 8.9.4 – Tip: change your version with a version manager like ‘n’)
- Basic JavaScript knowledge
Objectives
- Learn to test your chaincode functions
- Learn to mock and invoke functions
- Compare results with Chai testing
Introduction
In the previous two articles, we have learned to create both basic as more advanced chaincode functions. The importance of testing your chaincode can’t be underestimated. One single mistake can have dramatic consequences when dealing with smart contracts. Therefore, we’ll put the quality of our chaincode functions to the test.
Get Started
Make sure you have a copy of the code which can be found on Github michielmulders/hyperledger-fabric-blockgeeks. It’s recommended to use git clone https://github.com/michielmulders/hyperledger-fabric-blockgeeks.git to create a local clone of the repository on your machine. Use git checkout tutorial-3 to open the code for this tutorial and check out the third part of the tutorial with git checkout tutorial-3
If you are new to this tutorial, make sure to check out the ‘Boilerplate setup’ section in the first article to get up and running.
Now, let’s navigate with your terminal to the chaincode/node folder. From here, we can run npm run test to start our tests. The tests itself are located at chaincode/node/tests/tests.spec.ts. Let’s take a look at these tests.
Testing using Mockstub
Jonas Snellinckx from TheLedger explains what the ChaincodeMockStub is, “This ChaincodeMockStub is a mock implementation of the fabric-shim stub. This means you can test your chaincode without actually starting your network. It implements almost every function the actual stub does, but in memory. Only these functions are not (yet) supported: getHistoryForKey , getBinding , getTransient , setEvent , getChannelID .”
Chaincode Testing
To get started, we need to import the ‘expect’ functionality from the Chai testing package so we can use different comparison mechanisms like comparing response objects or status codes. Chai is a BDD / TDD assertion library for node and the browser that can be delightfully paired with any javascript testing framework.
import { expect } from “chai”;
If you take a look at the tests.spec.ts file, you can see we group tests together with the describe function, this is just a general code style practice. Next, we use the it function to define individual tests.
Most tests start with creating a new instance of our chaincode. This is not always necessary as we can also define a global instance of our chaincode which we can call and invoke functions on from every test. This depends on how and what you want to test, mostly we will try to write unit tests, just testing the core functionality of a function. Most of the time, we’ll define a new chaincode instance, but we will also instantiate a global chaincode instance with instantiated car data that can be used in multiple tests. Let’s write our first tests!
1. Init Chaincode Completion
Test InitLedger
First of all, our network starts with calling the initLedger function that fills our blockchain with Car data. To make sure the rest of our chaincode works properly, we need to test the status of this function and check whether all data is present in the blockchain state.
We start with importing the chaincode and create an instance so we can access all functions we have defined.
import { MyChaincode } from '../src/MyChaincode';

const chaincode = new MyChaincode();
Next, we can define our first test case, give it a meaningful description. As you can see, we define a new mockstub instance which we will only use in this test as we want to be sure that our chaincode compiles properly. The mockInit function initialises the chaincode (calls the initLedger function). We give it a unique transaction ID tx1 and pass an empty array as it doesn’t require any arguments. When the chaincode is initialised, we want to test the execution status and make sure everything was successful. The equal method of the Chai expect functionality comes in handy to compare the status.
it("Should init without issues", async () => {

       const stub = new ChaincodeMockStub("MyMockStub", chaincode);


       const response = await stub.mockInit("tx1", []);


       expect(response.status).to.eql(200)

});
Both the mockInit and mockInvoke function return the following promise object:
Promise<{

   status: number;

   message: string;

   payload: Buffer;

}>


Verify initialised data
At this moment, we are certain the chaincode compiled and initialised correctly. However, we are not sure if all data is correctly appended to our blockchain state. Let’s test the query all functionality to compare the returned car objects with the expected cars.
This time, we’ll create a global instance of the chaincode mockstub.
it("Should be able to init and query all cars", async () => {

       stubWithInit = new ChaincodeMockStub("MyMockStub", chaincode);

       …

}
This time, the mockInvoke function is used to invoke the queryAllCars function in the chaincode. The queryResponse.payload contains a buffer that we can use in our compare function. TheLedger has provided a helper that converts a Buffer payload to a JSON object using Transform helper from @theledger/fabric-mock-stub. The expect function contains a deep method that can compare JSON objects entirely. We compare the result with the initial objects we have defined in the initLedger function.
const queryResponse = await stubWithInit.mockInvoke("txID2", ["queryAllCars"]);

expect(Transform.bufferToObject(queryResponse.payload)).to.deep.eq([

           {

               make: 'Toyota',

               model: 'Prius',

               color: 'blue',

               owner: 'Tomoko',

               docType: 'car',

               key: 'CAR0'

           },

...

       ])

   });
2. Test Create Car
Let’s invoke the create car object in a new test case. This is a good example as it teaches us how to pass arguments to the mockInvoke functionality. This test consists of two components. First, we add the new car to the blockchain state, next, the car is queried to compare both objects.
const stub = new ChaincodeMockStub("MyMockStub", chaincode);


const response = await stub.mockInvoke("tx1", ['createCar', JSON.stringify({

      key: 'CAR0',

      make: "prop1",

      model: "prop2",

      color: "prop3",

      owner: 'owner'

})]);


expect(response.status).to.eql(200)
As you can see, we can pass in a full stringified JSON object to the mockInvoke function which contains all the properties for creating the new Car object. After creating the car, we verify the execution status.
Now the car is added, we can query it again to use it in our compare functionality. We pass in the key of the Car we have just created ‘CAR0’ and perform a deep-equal.
3. Testing Private Collections
Alright, we have entered the last part of this tutorial where we will test data insight private collections. Again, the mockstub has an in-memory alternative for private collections so we don’t have to start our Hyperledger Fabric network.
Again, the first thing we will do is passing the arguments to create our private car via the createPrivateCar function.
const stub = new ChaincodeMockStub("MyMockStub", chaincode);


const response = await stub.mockInvoke("tx1", ['createPrivateCar', JSON.stringify({

    key: 'CAR0',

    make: "prop1",

    model: "prop2",

    color: "prop3",

    owner: 'owner'

})]);


expect(response.status).to.eql(200);
Ok, let’s compare the expected object with the object from the in-memory private collection. The stub is smart enough to create the in-memory collection when you invoke the chaincode function. The stub.privateCollections holds an array of all private data collections and we specify which collection we want and what object to retrieve from this collection. This object can be matched with the expected Car object.
expect(Transform.bufferToObject(stub.privateCollections["privateCarCollection"]["CAR0"])).to.deep.eq({

           'make': 'prop1',

           'model': 'prop2',

           'color': 'prop3',

           'owner': 'owner',

           'docType': 'car'

       })
Run all tests
Ok, it’s time to run our tests again, use npm run test. If everything goes well, you should see a nice overview of what happened for each test and its result. The code should render 8 passed results as shown below.
What did we learn?
The ChaincodeMockStub is really useful as it allows a developer to test his chaincode without starting the network every time. This reduces development time as he can use a test driven development (TDD) approach where he doesn’t need to start the network (this takes +- 40-80 seconds depending on the specs of the computer). Also, accessing private in-memory collections is very straightforward via the stub.privateCollections array. You just need a few of Chai’s testing functionalities like the deep equal to properly test your chaincode.
Code Cheatsheet
- Create instance of chaincode which calls the initLedger function.
await stub.mockInit("tx1", []);
- Invoke a normal function and pass arguments.
const response = await stub.mockInvoke("tx1", ['createCar', JSON.stringify({

      CarObject...

})]);
3. Invoke a chaincode function that uses private collections and pass arguments.
await stub.mockInvoke("tx1", ['createPrivateCar', JSON.stringify({

    CarObject...

})]);
- Standard response promise returned from both mockInit and mockInvoke:
Promise<{

   status: number;

   message: string;

   payload: Buffer;

}>
Further reads
- Difference between TDD, BDD, and unit testing.


Hyperledger faucet for mobile.com.ml.ai.js.bot